

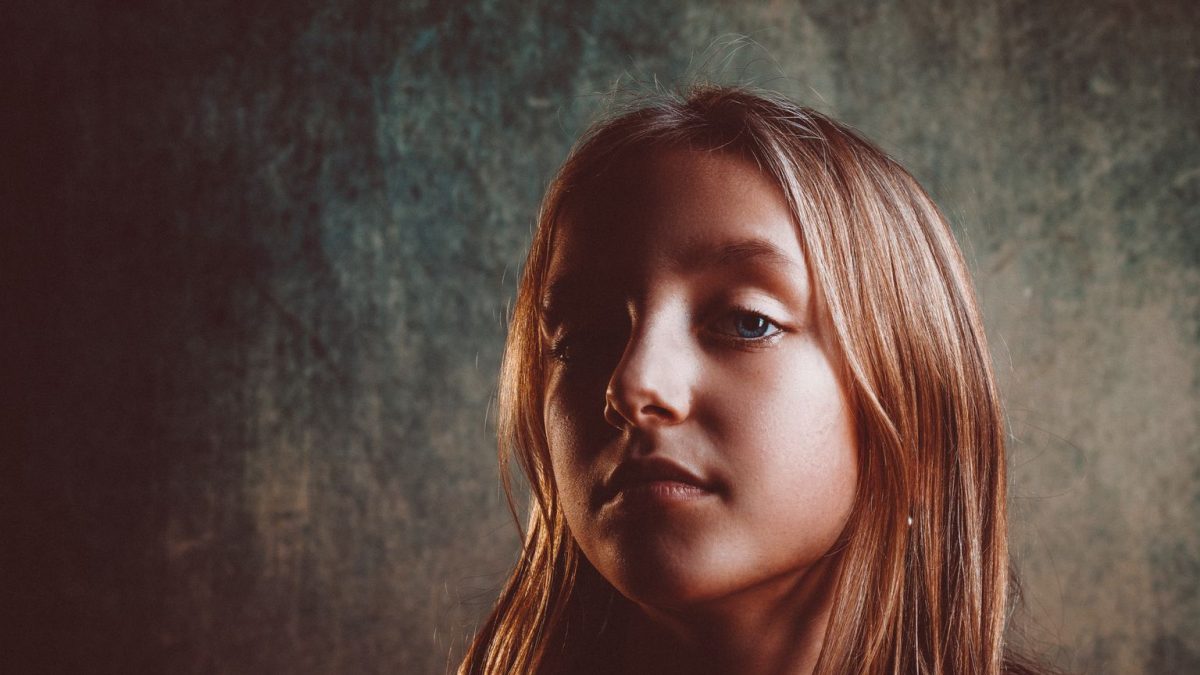
A believable portrait transformation depends on relationships: the face belongs to the pose, the light belongs to the room and the clothing belongs to the character. When one relationship breaks, the image can feel artificial even if every individual detail is sharp. This is why successful portrait work requires more than replacing one region of a picture.
The phrase face swap can describe a dedicated identity-replacement process, while AI image transformation can include broader changes to setting, styling or expression. Before starting, decide which task you actually need. A fictional character concept may not require the likeness of a real person at all.
Work through the portrait as a connected scene. A well-rendered face can still look misplaced if the camera angle, neck position or shadows disagree with the body. General concept exploration and precise identity replacement also need different controls, so define the intended operation before selecting the editing method.
Write the portrait brief in three parts
Separate identity, presentation and context. Identity covers who the image represents: an original fictional adult or a real participant who has agreed to the project. Presentation covers clothing, pose and expression. Context covers the setting and the purpose of the final image.
This separation helps you control the changes. If the goal is to explore a new setting around an existing portrait, the identity should remain stable. If the goal is an original character study, you may have more freedom over appearance while keeping the role and personality consistent.
Write one sentence for each part before generating or editing. A brief for a fictional radio host might specify an original adult character, relaxed professional clothing and a quiet late-night studio. That gives the image a coherent direction without relying on an elaborate list of effects.
Choose compatible visual references
References work best when they communicate a specific requirement. One can establish the camera angle, another the palette and another the costume direction. Explain those roles rather than asking the system to merge everything indiscriminately.
For a real participant, use clear authorized photographs with enough detail to inspect the important features. Avoid sources that are heavily filtered, compressed or partly obscured if the task depends on accurate identity. A simple image can provide better information than a dramatic one.
For a fictional character, build a neutral reference first. Keep the camera straightforward and the background restrained. This establishes a baseline that can be compared with later scenes. The more clearly the reference defines the character, the easier it becomes to identify unwanted drift.
Align the pose before refining the face
The head’s angle and the body’s posture establish the structure of a portrait. A face that appears to look forward cannot sit convincingly on a head turned sharply away. Before evaluating small facial details, check the broad orientation and the relationship between head, neck and shoulders.
Choose a compatible source or simplify the target pose when possible. Extreme angles introduce more uncertainty and can make the result difficult to judge. A neutral three-quarter view is often a more manageable concept direction than a pose with strong foreshortening and partial obstruction.
Inspect the expression as part of the pose. A relaxed body paired with an exaggerated facial reaction can create an unintended mood. The expression should belong to the moment being depicted, not merely display a recognizable emotion in isolation.
Match the direction and softness of light
Look for the dominant light in the scene. Highlights on the forehead, nose and cheekbones should be consistent with shadows around the face and body. If the surrounding room suggests a window on one side, the portrait should not appear lit mainly from the opposite direction without another visible explanation.
Softness matters as much as direction. A sharply defined shadow suggests a different lighting condition from a broad, gentle transition. Combining them carelessly can make the face feel separate from the rest of the photograph.
Begin with a lighting setup that supports the source rather than trying to transform everything at once. Once the portrait feels integrated, explore more expressive light if the concept requires it. This order makes it easier to distinguish a creative choice from a mismatch that needs correction.
Keep skin texture consistent with the image
A face can look artificial when it is much smoother or sharper than the surrounding image. Texture, focus and contrast should feel compatible across the portrait. Excessive smoothing may remove the qualities that make the person or character recognizable.
Review at normal viewing size as well as close up. A tiny imperfection may be irrelevant in the final layout, while a broad difference in sharpness can remain obvious. The aim is coherence, not an unrealistic absence of texture.
Avoid using enhancement as a substitute for a sound composition. If the lighting, pose or identity is wrong, adding detail will not solve the underlying issue. Make the broad relationships convincing first, then use finishing adjustments with a clear purpose.
Inspect the boundaries where problems hide
Hairlines, ears, glasses and the edge of the jaw are important transition areas. They connect the face to the rest of the scene and can reveal inconsistencies that are less visible in the center of the portrait. Look for abrupt changes in texture, odd shapes and incompatible focus.
Check objects that cross the face, such as a hand, microphone or strand of hair. The depth relationship needs to make sense. An element that should pass in front may appear partly merged into the face, creating an image that is detailed but physically confusing.
Keep difficult compositions simple during early testing. You can explore more complex accessories or gestures after the basic portrait works. Each additional overlapping element introduces another relationship that needs to be checked.
Use clothing and setting to support character
A portrait concept becomes more useful when the surrounding choices suggest a life. Clothing can indicate practical needs, while a few objects can establish occupation or habit. These details should support the person rather than turn the image into a collection of symbols.
For the fictional radio host, a worn notebook, a simple microphone and a dim studio background may be enough. Adding several unrelated screens, decorative lights and dramatic props could weaken the focus. The most meaningful detail is not always the most visually elaborate one.
Keep the setting consistent with the intended use. A profile-style image needs a different level of environmental storytelling from a narrative poster. Decide how much context the audience needs and leave the rest understated.
Develop two different concepts from one brief
Using the radio-host example, the first concept could be a quiet close portrait with a warm desk light and a neutral expression. Its purpose is to introduce the character as attentive and approachable. The background remains simple so the face and posture carry the message.
The second concept could show the same character in a wider studio scene, listening through headphones while making a note. This version communicates activity and setting. The identity, clothing logic and palette remain connected to the first image, while the composition adds new information.
Compare the two as a set. If the person’s face or age appears to change, return to the reference. If the studio introduces a completely different mood, decide whether that contrast is intentional. A coherent pair of images is more useful than two strong portraits that seem to depict different characters.
If the two scenes still feel unrelated, return to portrait concept generation with a narrower brief for the fictional radio host. Fix the palette and clothing description before changing the setting. This can clarify the intended continuity, although any task requiring exact identity transfer still needs a separately suitable editing workflow.
Review representation before public use
When a real person is involved, confirm that the final image remains within the agreed scope. A concept approved for private discussion should not automatically become a public campaign asset. The person’s participation and the intended context should remain clear throughout production.
Review the caption and surrounding layout as well as the image. A transformed portrait can imply an endorsement, appearance or event that never happened if it is placed in a misleading context. The complete presentation determines what an audience is likely to believe.
For fictional work, make the creative context understandable. An original character illustration does not need to pretend to be a documentary photograph. Clear framing lets the audience appreciate the image for its intended purpose without confusion about who or what it represents.
Keep a useful production record
Save the approved references, final image and a short explanation of the intended use. Record the major choices that define the portrait: identity traits, pose, light and setting. This makes future revisions more consistent and helps collaborators understand the boundaries of the project.
Keep earlier versions until the final result is approved. A later edit may improve one area while weakening another. The ability to compare and return to a stable version is valuable in any iterative image workflow.
View the completed pair of portraits at an ordinary reading size, then inspect the details that first felt uncertain. If the face, pose and lighting now agree, avoid adding effects simply to make the edit more noticeable. A successful composite lets the viewer attend to the character and scene rather than the joins between its parts.